Table Of Content

The typical turnaround for injection molding varies between 6-10 weeks. 4-6 weeks to manufacture the mold, plus 2-4 more weeks for production and shipping. If design changes are required (something quite common) the turnaround time increases accordingly. The recommended minimum production volume for injection molding is 500 units.
Thermoplastic Material Selection for Injection Molding
As a source of experienced engineers and product designers, we can provide you with an individual or a team of professionals who can help you develop injection molded parts from scratch. We will match you with pre-vetted and highly qualified design professionals. These are a piece of the design that blocks the mold keeps it from sliding away along the parting direction. Unless absolutely necessary, external and internal undercuts must be minimized. Otherwise, tooling costs will increase because external undercuts require side cores, while internal undercuts require internal core lifters. Gating and ejector pins are a necessity for plastic resin to strategically enter the mold and plastic parts to effectively be ejected from the mold.
Influence of Shape and Dimensions

This design technique requires the outside and inside walls to be drafted so they are parallel to one another. This method keeps a consistent wall thickness, maintains the part integrity, improves the strength and moldability, and decreases the overall manufacturing cost. As the inner core cools, it shrinks at a different rate than the already cooled outer skin. This difference in cooling rates causes the thick section to draw inward and create a sink mark on the outside surface of the part, or worse, completely warp the part.
Injection Molding: A Balanced View
This process allows flexibility in creating the final appearance of your parts. Texturing is an integral piece in overall product development and should be considered during the design process to achieve the desired results. Texture can be a functional component of design (for example, to improve grip), as well as a strategy for camouflaging imperfect or frequently handled parts. Gate TypesThere are two types of gates available for injection molding; manually trimmed and automatically trimmed gates. The material used for the mold affects its lifespan and the quality of the finished product. To ensure optimal performance, the mold material should have a high melting temperature, good thermal conductivity, and excellent wear resistance.
Design Molded Plastics acquired by Big Shoulders Capital - Plastics News
Design Molded Plastics acquired by Big Shoulders Capital.
Posted: Tue, 13 Jun 2023 07:00:00 GMT [source]
Ejector pins are used to eject a part from a mold after cooling is complete. Sometimes, however, the mold sticks, which causes marks from the ejector pins to appear on the finished part. Trimming provides a way to categorize gates, but specific types of gates are recommended for parts with specific part features. Others support automatic trimming where excess material is sheared during part ejection.
CNC Machining Surface Finishes: Choosing the Best Option for CNC Machined Parts
Almost every plastic component in the interior of a car was injection molded. When filling a new or unfamiliar mould for the first time, where shot size for that mould is unknown, a technician/tool setter may perform a trial run before a full production run. They start with a small shot weight and fills gradually until the mould is 95 to 99% full. Once they achieve this, they apply a small amount of holding pressure and increase holding time until gate freeze off (solidification time) has occurred. Gate freeze off time can be determined by increasing the hold time, and then weighing the part.
Other guides
Use these 3 design tips to keep the cost of injection molding to a minimum. Some moulds allow previously moulded parts to be reinserted to allow a new plastic layer to form around the first part. Arthur Eichengrün developed the first injection moulding press in 1919.
Most defects in injection molding are related to either the flow of the melted material or its non-uniform cooling rate during solidification. Model airplanes are another common example of injection molded parts. The material used here is mostly Polystyrene (PS), for its low cost and ease of molding.What’s interesting with model airplane kits is that they come with the runner system still attached.
Plastics have designs on springs - PlasticsToday
Plastics have designs on springs.
Posted: Fri, 01 Dec 2023 11:56:23 GMT [source]
Draft Angles and Ribbing
Manufacturers go to great lengths to protect custom moulds due to their high average costs. The perfect temperature and humidity level is maintained to ensure the longest possible lifespan for each custom mould. Custom moulds, such as those used for rubber injection moulding, are stored in temperature and humidity controlled environments to prevent warping. The phrase “measure twice, cut once” has become a popular figure of speech for good reason—you’ll almost always save time and expense by double-checking your measurements.
We've learned from experience that there are several ways to gate or eject your part, and the locations should be considered before you are ready to proceed with tooling. While some stresses in an injection molded part are to be expected, you should design your parts with as much consideration for stress reduction as possible. Some ways to do this are by adding smooth transitions between features and using rounds and fillets in possible high stress areas. Aluminum molds also offer quick turnaround and faster cycles because of better heat dissipation. They can also be coated for wear resistance to fiberglass reinforced materials.
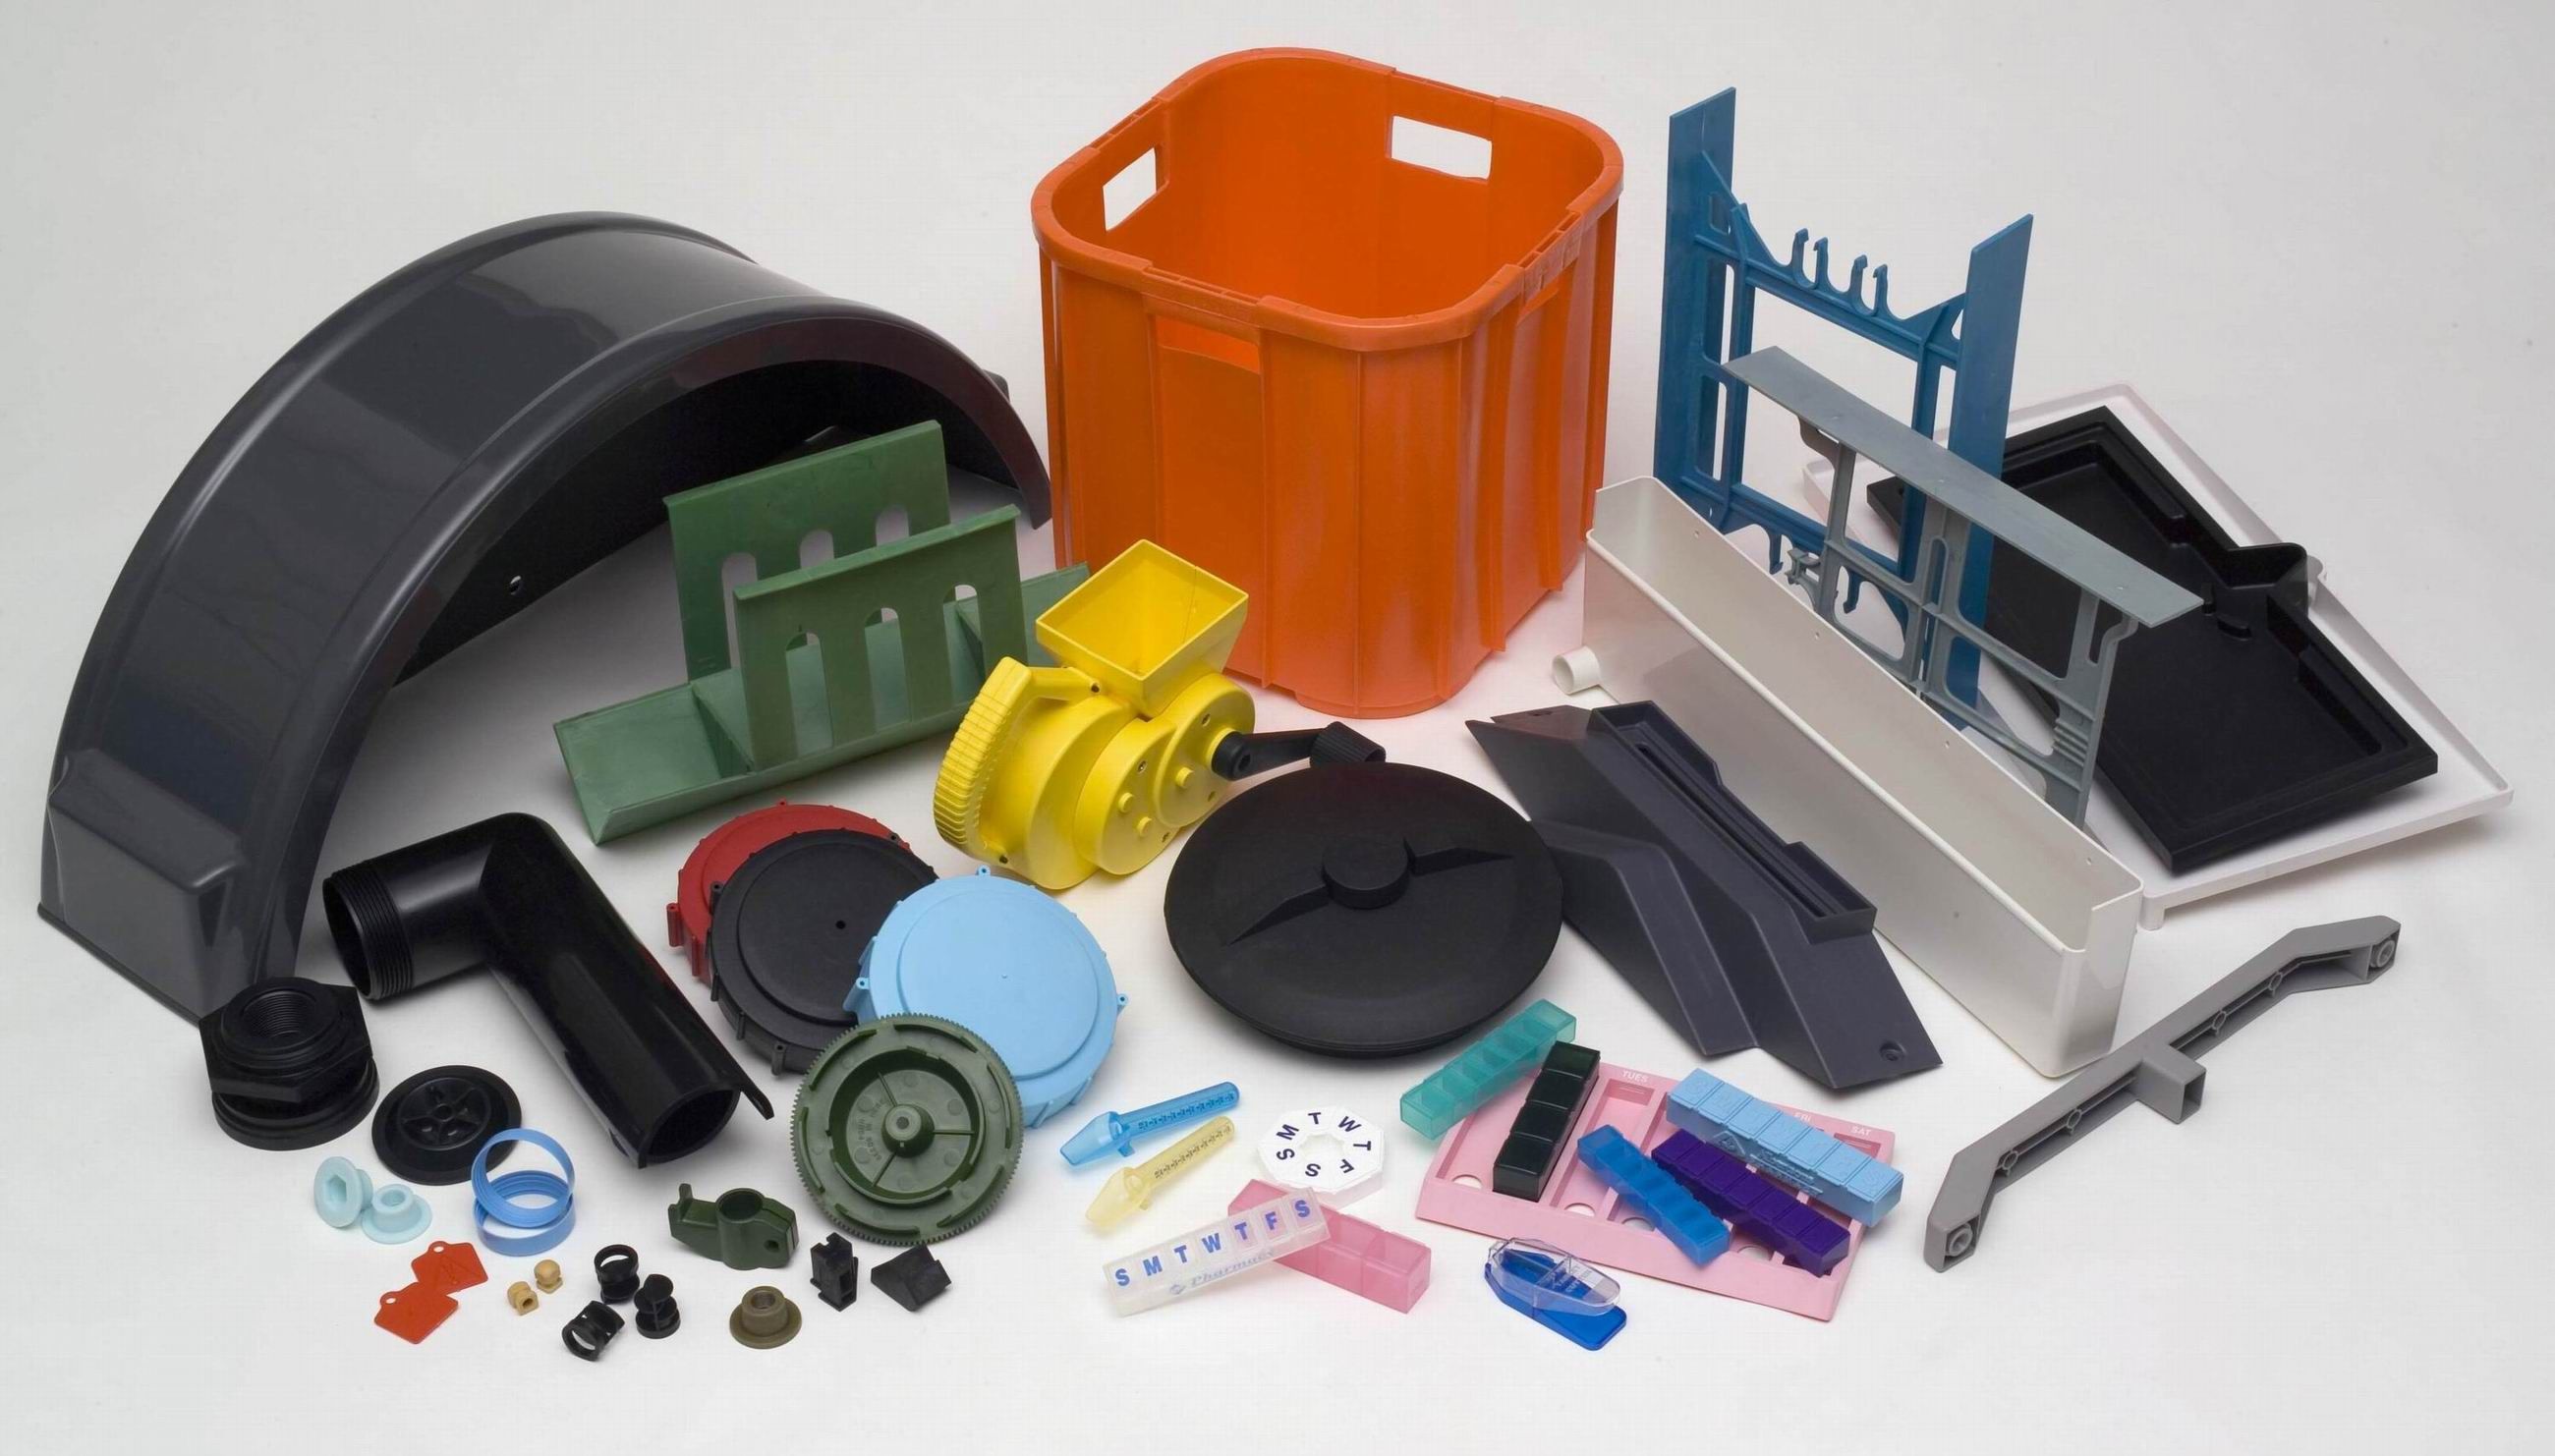
Almost every thermoplastic material (and some thermosets and silicones) can be injection molded. This gives a very wide range of available materials with diverse physical properties to design with. But compared to other technologies, the start-up costs of injection molding are relatively high, mainly because custom tooling is needed. A mold can cost anywhere between $3,000 and $100,000+, depending on its complexity, material (aluminum or steel) and accuracy (prototype, pilot-run or full-scale production mold). The power required for this process of injection moulding depends on many things and varies between materials used. Pre-moulded or machined components can be inserted into the cavity while the mould is open, allowing the material injected in the next cycle to form and solidify around them.
Because of the small surface contact with the mold, crush ribs can be designed without a draft angle. Snap-fit joints are a very simple, economical and rapid way of joining two parts without fasteners or tools. Typically, injection molding will produce parts with tolerances of ± 0.500 mm (0.020’’). Tighter tolerances down to ± 0.125 mm (0.005’’) are also feasible in certain circumstances. This level of accuracy is enough for most applications and comparable to both CNC machining and 3D printing.
Understanding how these factors interact is crucial for creating successful mold designs. It’s worth noting that the part geometry should also be optimized for easy ejection from the mold. Draft angles, which are tapered surfaces on the part, allow for smooth ejection without damaging the mold or the part. Incorporating suitable draft angles, ribs, and other design features ensures efficient and reliable ejection, minimizing production downtime. When molded parts are hard to eject, drag marks or ejector punch marks can occur.
Uneven wall thickness can lead to inconsistencies in cooling, shrinkage, and warping. It’s important to maintain uniform wall thickness or compensate accordingly to ensure consistent results. Adequate draft angles must be incorporated to facilitate part removal from the mold without causing any damage or deformation.
Early injection molding machines used a barrel to heat up the plastic and a plunger to inject it to the mold. In this guide you’ll find everything you need to know about injection molding. Master the technology’s basic principles and learn actionable design tips fast that will save you time and cut costs.
It is also essential to eliminate secondary de-gating operations and place them in the thickest area to achieve the best fill. In some cases, multiple gates may be necessary depending on the part’s size, geometry, and plastic polymer type. Whenever a component requires variation in wall thickness, you must ensure a gradual transition between the sections.


No comments:
Post a Comment